 We manufacture


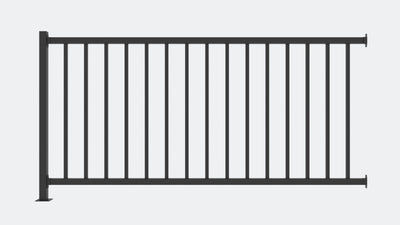
6' Classic Guard Rail Kit (V1)
starts at $97.97

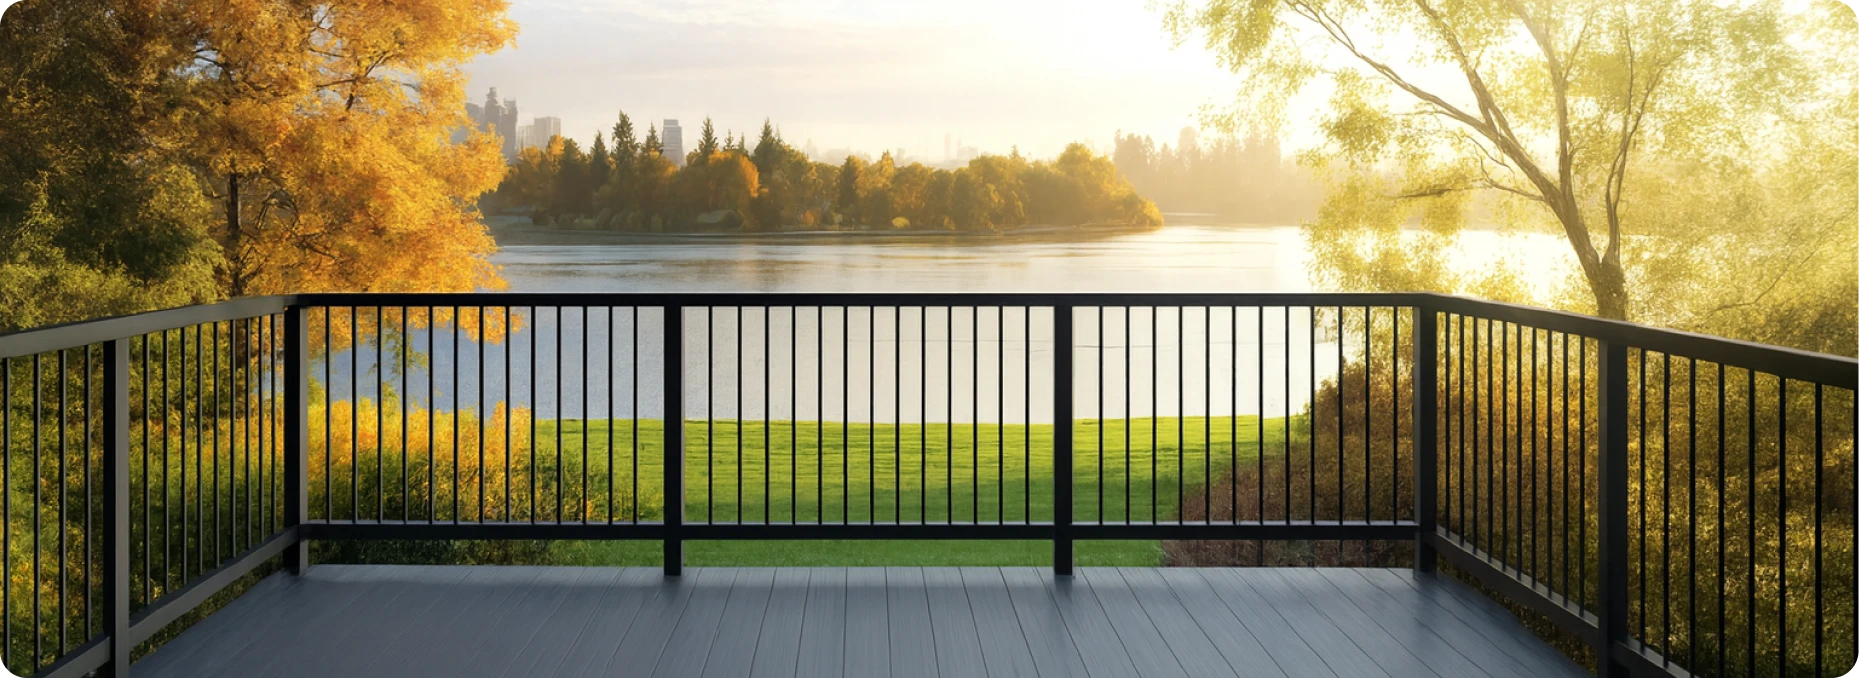
6' Contemporary Vertical Guard Rail Kit (V3)
starts at $97.97

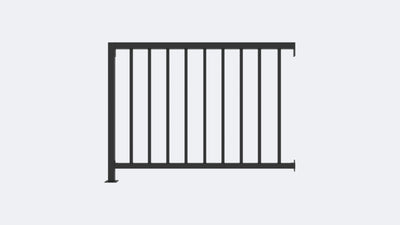
6' Contemporary Horizontal Guard Rail Kit (V4)
starts at $97.97


Loading Accessories...
Preparing product data...
Let us help plan your railing project
Click on the button below to submit a custom quote request. Our team will design your railing system and share a personalized shopping list.


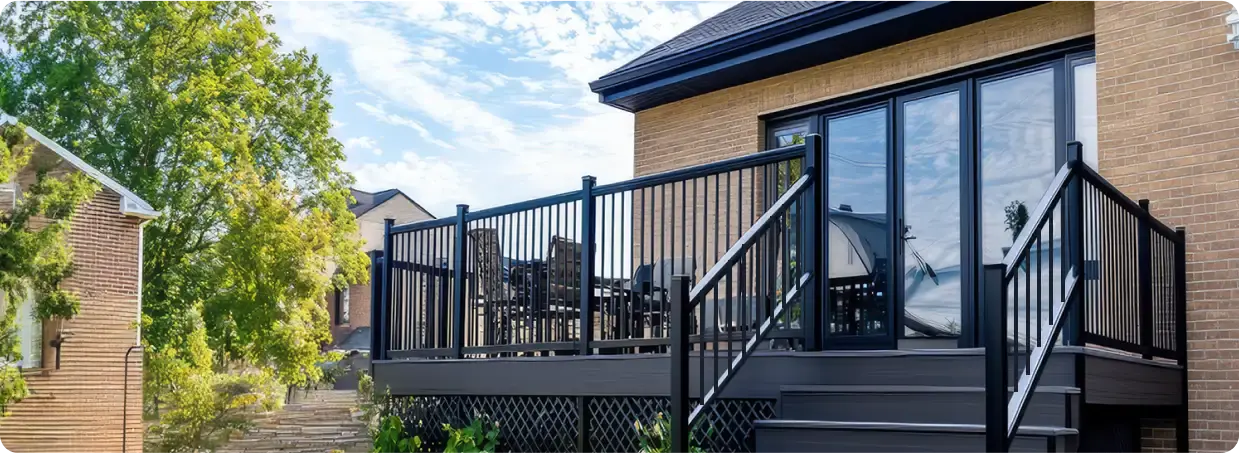
Build a Complete Guard Rail System


-
 Average Customer rating 4.7/5
-
 IBC Code Compliant
-
 Ships in 1-2 Days
-
 365-Day Returns
Build a Complete Guard Rail System
-
Average Customer rating 4.7/5
-
IBC Code Compliant
-
Ships in 1-2 Days
-
365-Day Returns
Build a Complete Guard Rail System

-
Average Customer rating 4.7/5
-
IBC Code Compliant
-
Ships in 1-2 Days
-
365-Day Returns
How Many Kits To Buy

Step 1 - Measure Your Space
Use a tape measure to estimate the total length of the area where you want to install the guard rail. For instance, your dimensions are 12', 8', and 10'. Your total length becomes 30'.

Step 2 – Calculate Sections Needed
Divide your total length by 6 ft and round up to get the number of sections. For example, 12 ft needs 2 sections, and 8 ft also needs 2 sections. If you're using 4 ft rails, you can use two 4 ft sections instead for 8 ft.
Why CR is Safe

Meets R301.5 Load Requirement
CR’s post has thick, strong welds on all 4 sides.

Heavy-Duty Welds
CR’s post has thick, strong welds on all 4 sides.

Meet IRC R312 < 4" Gap
CR’s post has thick, strong welds on all 4 sides.
Why CR is Durable

LinkSync Design
A simple, modular system that allows you to chain multiple CR railings together to build a complete system.
Galvanized Steel
Formed from thick, corrosion-resistant steel that maintains structural integrity even in demanding outdoor environments.
Commerical Powder Coating
A 5-layer, matte coating that resists rust, UV rays, and wear while preserving a refined, uniform finish over time.

Why Choose CR’s Guard Rail Over others?

High-Quality Anchors
CR’s anchors have the perfect height and thickness.
Competitors’ anchors are too short or too weak.

Heavy-Duty Welds
CR’s post has thick, strong welds on all 4 sides.
Competitors’ posts have questionable strength – welded on 2 sides only.

Thicker Metal, Stronger
CR posts are ~60%* more heavy duty
*CR's Post weighs 3.5lbs, whereas competitor posts are at ~2lbs.
Order Right & Install Your Railing, Easily
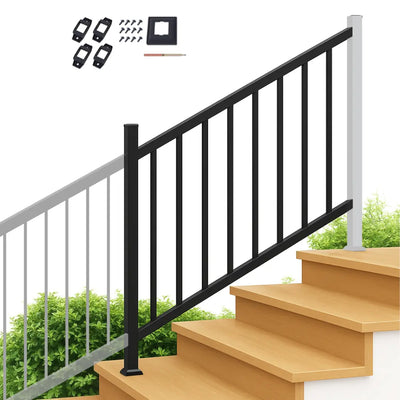
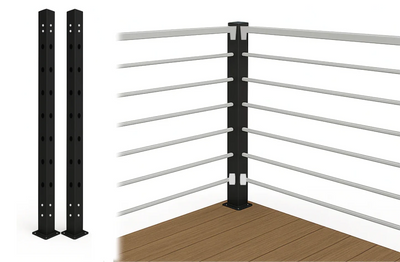
Step 1: Install Your Posts
Position end posts at the start and end of each run, and add corner posts at 90° turns.
Mark post locations, drill with the bits, and secure posts using the provided anchors and screws.
Check that each post is level before tightening.
Step 2: Assemble a Kit
Attach the lower rail between posts.
Slide balusters into the lower rail - pre-fitted seals keep them snug.
Secure upper rail with adjustable brackets.
Step 3: Connect Multiple Kits
Repeat the assembly process for each section kit.
Continue connecting kits seamlessly until your entire planned railing area is covered.
Order Right & Install Your Railing, Easily
Step 1: Install Your Posts
Position end posts at the start and end of each run, and add corner posts at 90° turns.
Mark post locations, drill with the bits, and secure posts using the provided anchors and screws.
Check that each post is level before tightening.
Step 2: Assemble a Kit
Attach the lower rail between posts.
Slide balusters into the lower rail - pre-fitted seals keep them snug.
Secure upper rail with adjustable brackets.
Step 3: Connect Multiple Kits
Repeat the assembly process for each section kit.
Continue connecting kits seamlessly until your entire planned railing area is covered.
Trim Your Rail Sections for a Perfect Fit
Trimming is optional, but sometimes necessary to make sure your guard rail fits just right.

Option 1: Cut the last section only (gives an asymmetrical finish).

Option 2: Cut each section equally (gives a symmetrical finish).
Slideable brackets are already included in the kit. You won’t need to purchase separately.
Trim Your Rail Sections for a Perfect Fit
Trimming is optional, but sometimes necessary to make sure your guard rail fits just right.

Option 1: Cut the last section only (gives an asymmetrical finish).

Option 2: Cut each section equally (gives a symmetrical finish).
Detachable brackets are already included in the kit. You won’t need to purchase separately.
Customer Reviews
- Choosing a selection results in a full page refresh.
- Press the space key then arrow keys to make a selection.